|
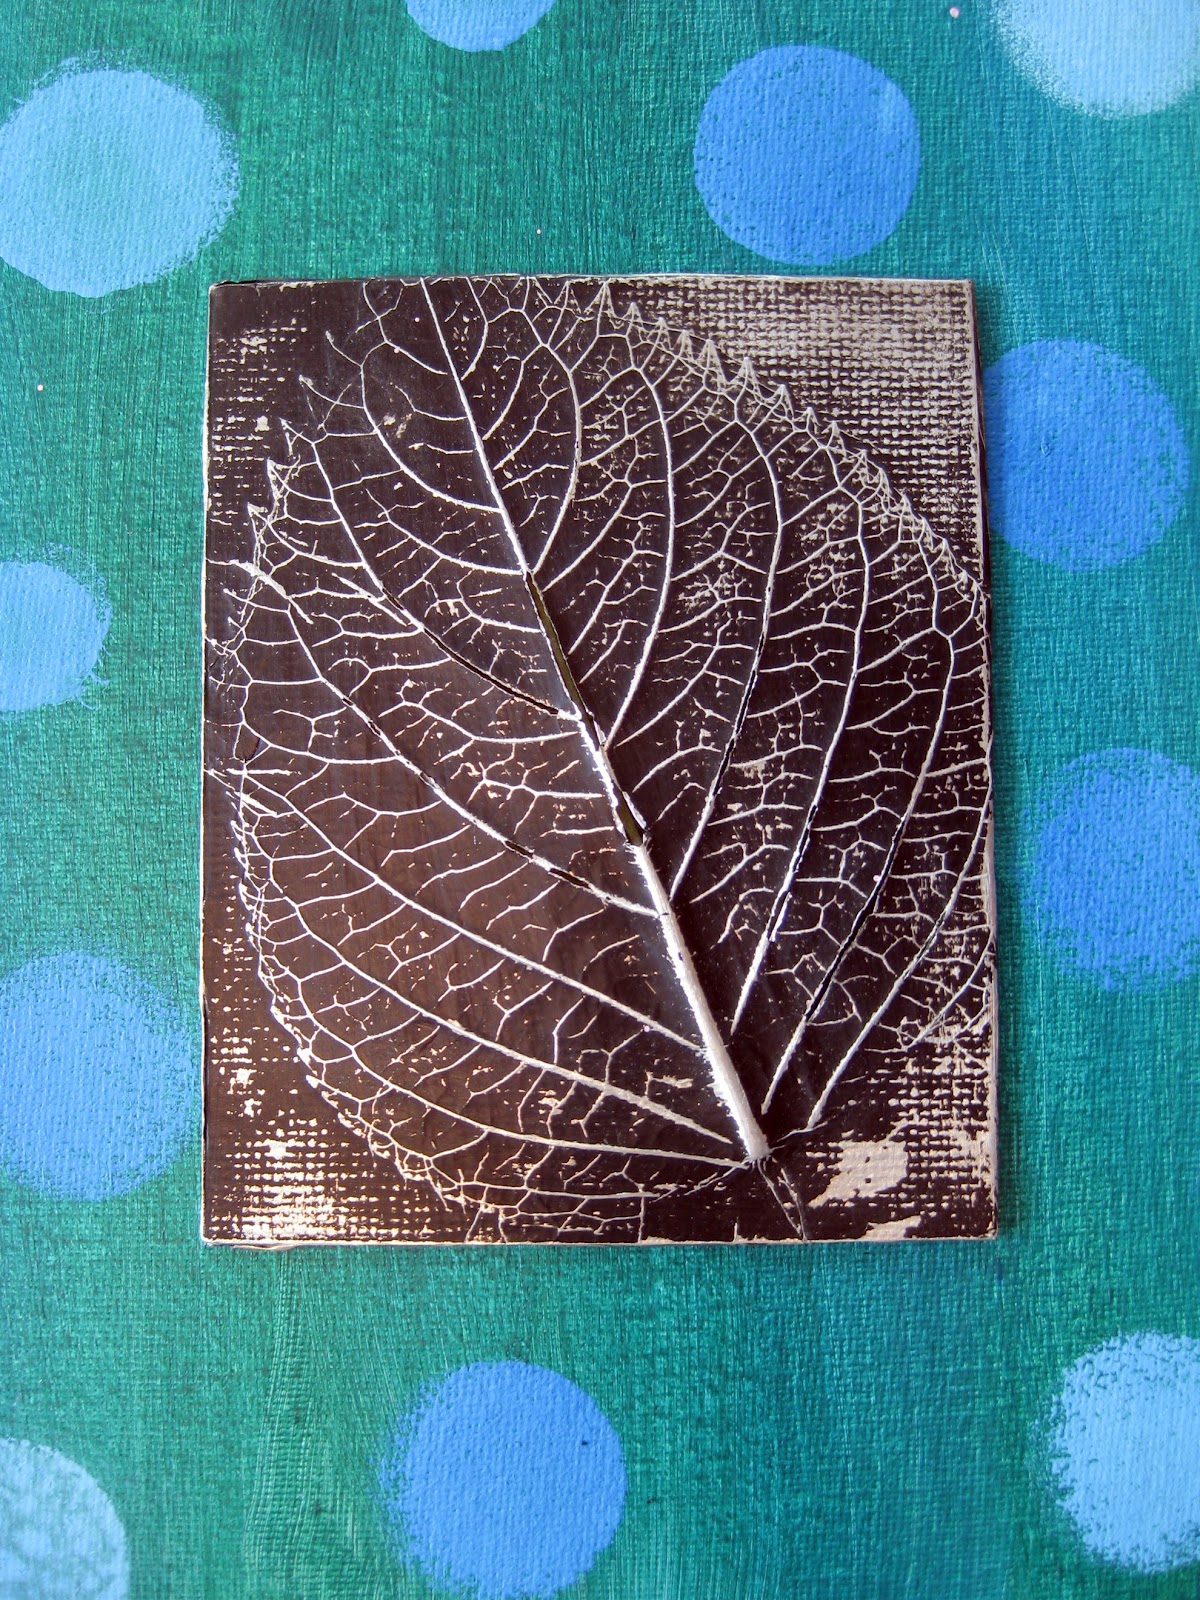
| A lovely leaf relief with a dotted background by one of my former students. |
|
Hey guys! This post has been very popular...if you are interested in other leaf related projects, be sure to look at this Leaf Printing post and my Leaf Press Project. Thanks!
While second grade was completing that project, I was working with my third graders on these Leaf Reliefs. It's a very spring/summer kind of project, so I thought I'd share it with you.
 |
| A close up of one of the 3" X 4" reliefs. I love that this artist chose a less than perfect leaf. |
I like that I can talk about all of the elements of art when looking at something as simple as a leaf: the
shape of the leaf; the
lines and
texture of the veins; the varying
colors of each leaf; the cylinder
form of the tree that the leaf came from. And when we complete this project, we chat about the
values we created and the positive and negative
space of
the leaf. I do a lot of what's called "call and response" in my classroom which is where I say something and the kids finish my phrase. For example, when I point out an "element of..." they all respond "aaahhrt". Because we are fancy artists that speak with funny accents. Whatever helps them to remember, right?
 |
| Completed by an adult during an art afternoon I hosted a while back. I love that she chose to use a dandelion. |
For this project, you'll need to gather the following:
- matte board ... I used 3" X 4"
- leaves, delicate flowers, lace ... really anything flat with some sort of texture
- 3M Spray Glue
- inexpensive aluminum foil
- the $1 a can matte black spray paint found at Home Depot ... seriously, you want the cheap stuff
- 0000 steel wool
- canvas, matte board or even cardboard for the background
 |
| One adult used impatiens and they turned out beautifully. I like that she even added some color to the foil with watered down acrylic paint. |
In the art room, I had the kids gather around a table, pick a piece of matte board and lay it in front of them. Then I would lightly spray the glue on the board. The kids then chose from a pile of leaves laying their leaves on the sticky board veiny side up. I then sprayed the board again, laid a piece of tin foil over the board
shiny side up and sent the kids back to their seats. At their seat, they used their finger to rub the surface of the board and reveal the texture underneath.
Once that was complete, we took our boards, a large drop cloth and some cheapo spray paint outside. I attempted to let the kids spray paint but I ended up giving the boards a final coat to insure complete coverage. We let their boards dry until the following art class.
 |
| Rubbing the spray paint off of the matte board to reveal the textured leaf underneath. |
Using the softest of steel wool, the kids burnished their leaf reliefs. Some kids chose to burnish the boards completely while others liked the variety of values. And even though I emphasized not to rub too hard, we still had several incidences where the kids tore their foil. Usually they noticed right away and the foil could be gently glued back into place. In other cases, we repaired by using a black or silver sharpie to camouflage the tear.
For the background, I have tried a variety of things. In the classroom, we have used canvas boards that we've painted (after a long chat about color theory and mixing, of course) and applied a texture with our texture combs. Not familiar with texture combs? I picked mine up from an art supply catalog however they can easily be made by using either a plastic comb or cutting notches into cardboard.
 |
| I picked up a ton of matte board at a local framing shop when it was going out of business. I'm sure any such shop would make a donation. I love the burlap texture on this matte board. |
 |
| This background here was created by an adult using a leaf stencil. I love the combination of two reliefs. |
Once paintings and reliefs were complete, I hot glued the metal work onto the canvas. I gave the kids the opportunity to either have their reliefs flat or popping up by adding a bit of stryofoam to the back of the relief.
 |
| Another adult example. I love her use of type and found objects. So many possibilities! |
| |
The works of art were a real show stopper once hung in the hall as a group. What I loved so much about this project was that I was able to start the year with a solid introduction to the elements of art. Not only that but all children were successful which is a huge ego bust. In fact, my principal-at-the-time loved them so much, she stayed after school with me for a couple of days so I could teach the lesson to her! Her leaf reliefs are now proudly displayed in her home. Gotta love a project that inspires everyone!
Hopefully this will inspire you as well. Enjoy your weekend!