Showing posts with label kindergarten art. Show all posts

Wednesday, July 19, 2023

First Day of Art for Kindergarten

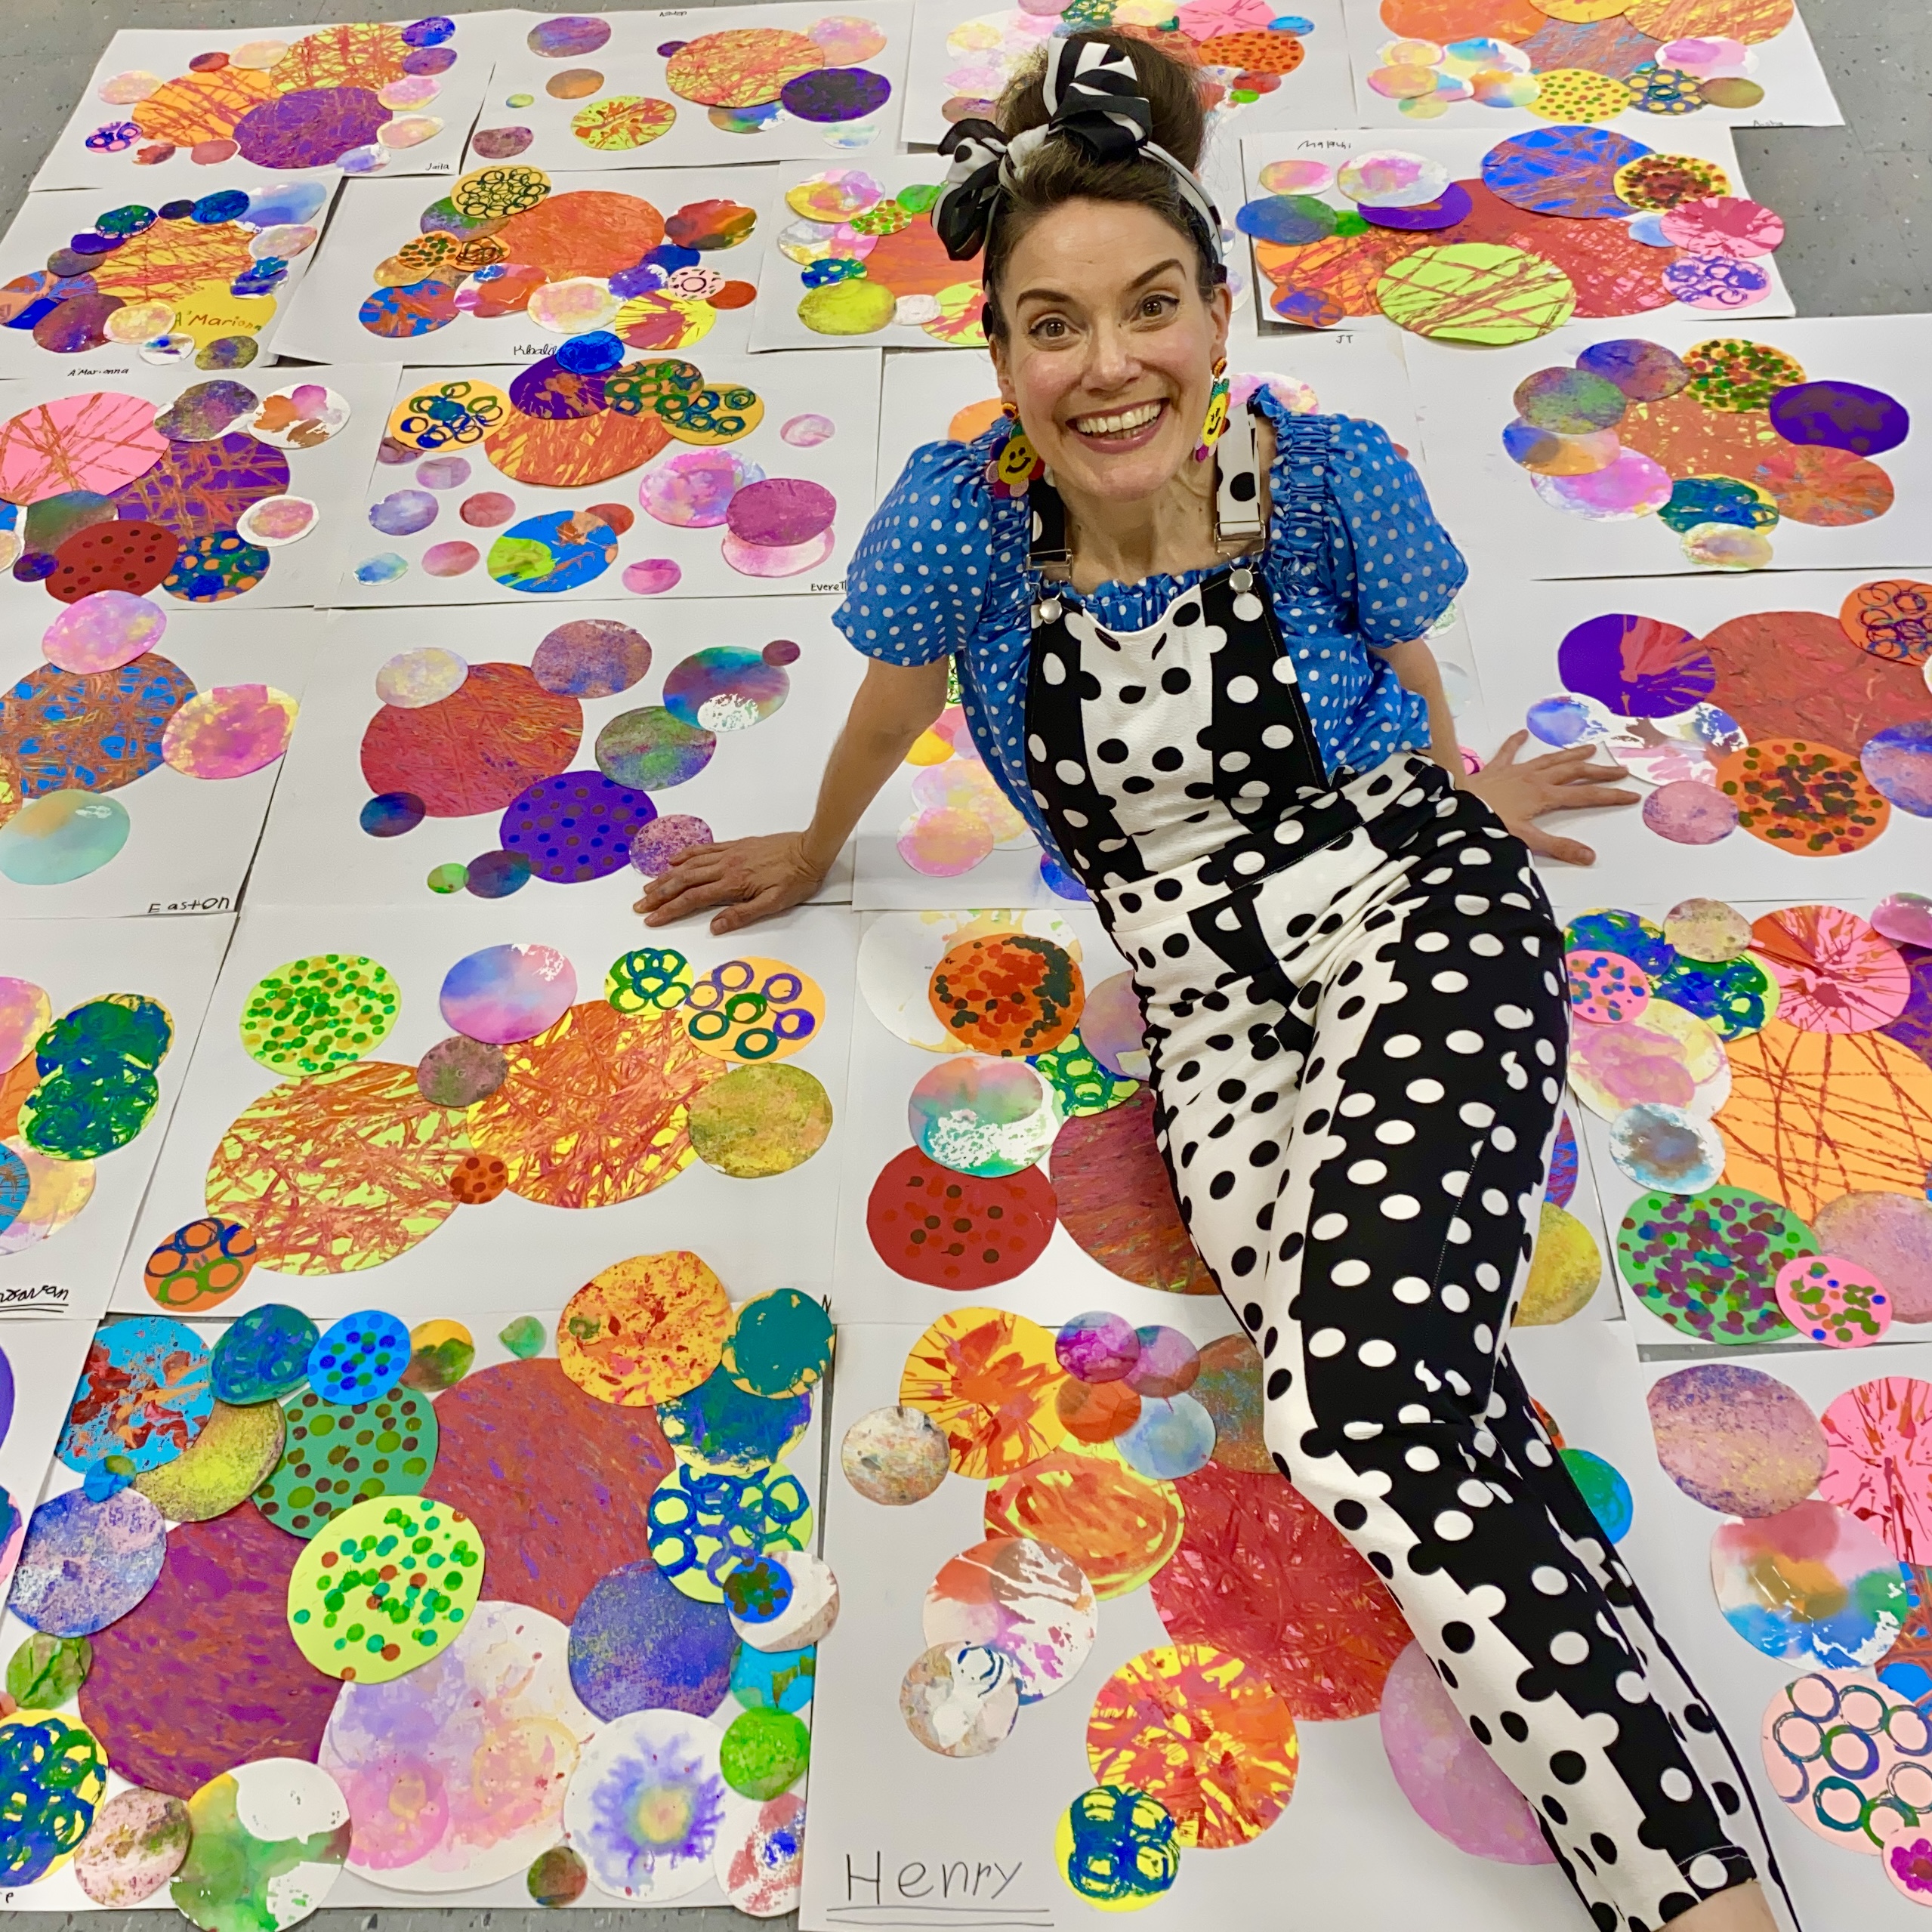
People can tell me how they run their classroom all day long and I do love to hear about it because I am a person who LOVES to try new things. I like to throw EVERYTHING at the art teacherin' wall just to see what sticks. But what REALLY helps me is seeing it in action. Sure I can imagine what Call and Response or a behavior management plan my look like but it's so much better to see it happening. So...that's why I love to share what it looks like in my art room. For that reason, I'll be sharing my first day teaching kindergarten right here!
If this video looks a little familiar that's because...I have been running my first day of kindergarten the very same way FOR YEARS. If it works, stick with it, right? And I'll be adding links to more blog posts with videos here. 
This blog post breaks down the lesson and why I teach certain routines on that first day. 
Want more details on where this lesson goes from here and how it becomes my kindergarten unit on line? Try this post!
If you are craving more First Day videos, here's a compilation of first day lessons with all students
If you've never done paper sculptures with your students, they are an absolute blast. ALL kids can have great success right out of the gate. This provides an immediate love for art class which is what we all want, right? I've even done this lesson with my older students as a Getting to Know You activity

photo signature_zpsd10b3273.png

Read more »

Tuesday, September 20, 2022

Learning Lines with Line Stations

So I've been thinking about a couple of things (which explains the burning smell). Last fall, I tried some "Halloween centers" or stations that my students rotated through. I did this on the day our school was having fall parties and costumes because I knew the kids were going to be excited and I wanted to ride that wave of excitement. I liked it, the kids loved it and I thought I should do it more often. And then I didn't. 

Then I did Dot Day centers and I noticed a couple of things:

* The kids got to experience a wide range of mediums in a short amount of time. One thing I've noticed is that I don't 'have the time' to allow my students to experiment with a lot of art supplies. This allowed me to do that.

* Everyone was very excited and engaged. I mean, it's art, they usually are but...it was electric this time around. And they didn't 'need me' or ask for my approval. 

* We created A LOT. I always feel guilty at the end of the school year that we only have a handful of pieces. We had a ton each that we created!

For that reason, I decided to take the same concept and apply it to the element of art of LINE. I noticed that many of my students, since the pandemic, are lacking in skill: drawing, cutting, you know, the basics. So I decided to do this centers or stations thing with ALL of my students, kindergarten through fourth. Ultimately, we will use these papers as backgrounds for a variety of projects (which will vary by grade) but for now...I'm excited with what we've made. I see so many possibilities with this idea: the elements of art, art history, new mediums, etc. And it has me excited. Which is something I've not felt in a while as the pandemic, as well as the following last two years, brought me severe burnout. 

If you are interested, here is the video I created for my students. I'll be sharing the resources and how I created them in the next couple days. So stay tuned! 


photo signature_zpsd10b3273.png
Read more »

Wednesday, September 14, 2022

Assembling our Dots from our Dot Day Activities

In my last blog post, I shared that my students were spending a couple of days rotating between four different art makin' stations. We spent two days doing that and ended up with a TON of dots! We are now assembling our dots in a large collage on 18"X24" inch paper. Here is the video I created to walk them through assembling their work:

I love how they all turned out and the kids loved all the different stations they rotated to. You can check out the three videos I made of art makin' centers right here
Of course we had to take Vashti's advice and 'sign it' before calling it complete. I love how each one is so unique and amazing, just like the artists who created them.

When I asked the kids which dot-makin' center they liked the best, they couldn't decide, they really enjoyed them all. I plan to do rotations of art makin' like this in the future, it's so much fun!


photo signature_zpsd10b3273.png
Read more »

Tuesday, May 4, 2021

Let's Make a Symmetrical Butterfly!

Recently, my kindergarten and first graders created guided painting symmetrical butterflies! This is a very old lesson of mine...which you can find here. The video I created then was geared toward art teachers. I decided to update the video and make it so you can share it with the artists in your life. Here you go:

Of course you'll need to pause as they go. 
We used black tempera paint and I told the kids to apply the paint so that it is shiny. This made for a better print. Once they understood how the process worked, they knew what to do. 
Color was added with brown, yellow and orange oil pastels. The kids were told to color in those three colors in stripes and then color OVER those three colors with yellow to create a gradation. Afterward, we drew designs in the background with a white oil pastel and then added color to the background with blue liquid watercolor. Have fun! 


photo signature_zpsd10b3273.png
Read more »

Thursday, April 9, 2020

How to Draw a Unicorn!

Happy National Unicorn Day! To celebrate, I created a short 3 minute video that will show you how to draw your very own unicorn! Have fun and enjoy:
All you need is paper, markers and crayons but really any art supply will do. 
And now a flashback to last year when my kindergarten and I celebrated Unicorn Day complete with our friend Uni the Unicorn. Happy Thursday!

 photo signature_zpsd10b3273.png
Read more »

Monday, October 7, 2019

In the Art Room: Teaching Line (and more!) to Kindergarten

 Hey, y'all! I've been sharing a lot about my kindergarten friends here lately as I feel as though that it a weakness of mine...and just might be a weakness of yours. While I LOVE teaching kindergarten, I find that I often drop the ball when it comes to teaching them my routines. I know they have a shorter attention span and I love to get them creating when they come to art. It's my weakness and it's something I'm working on...because when I don't, I tend to make those same faces as shown above. 
 One of the most popular posts on this blog was the one I wrote on my Kindergarten Line Unit. It has a ton of lessons, poems and info if you have not checked it out. And while I still do many of the lessons from that unit, I decided to change it up a bit this year with a little Line Game for my kindergarten's first line study. Here's how it worked: 
 Before the kids arrived, I cut paper into 12" squares. Then I added two black dots on each side of the paper (you can kinda see them now, right?). Then, working with the person seated next to them, they were to pick a start dot and their neighbor was to pick their end dot. Then they had to take their line for a walk from one line to another. When all the dots had lines, they had to go on a shape hunt. Lines make shapes! They had to find those shapes and color them in. We used paint sticks to fill in the shapes. 
I loved their final results. One the third 30 minute art class, we learned about collage and created the shape monsters you saw at the start of this blog post. They LOVED that! Here's a little video from one of those art classes:
And if you'd like to see more videos like this or hear my podcast episodes about my dear kindergarten friends, you can hop over here. 

 photo signature_zpsd10b3273.png
Read more »

Tuesday, February 26, 2019

In the Art Room: Kindergarten Hearts, a Follow Up!

What you see here just might be my new favorite kindergarten lesson! I shared this lesson (and video!) originally here, if you recall. My students began with a foam heart shape purchased from the Dollar Tree. We then added foam sticker shapes and pulled prints (I'll get to that here in a moment but you can scroll down to get an idea). Those prints were used for one project. Then we were left with our printing plates.
 I LOVE doing this technique with our old printing plates. I've done this same process with cut paper snowflakes, leaves, round printing plates and styrofoam printing plates. I'll explain the process and supplies here...or you can just check out the video.

 I see my kindergarten kids for 30 minutes, twice a week. Here's how I broke the lesson down. 

Day 1: We read The Shape of My Heart. We learned about organic and geometric shapes. We placed sticker shapes on our foam hearts. The hearts came from the Dollar Tree and the stickers from Michaels.
 Day #2: We printed! The kids printed by themselves and did great! They were to pull at least four prints so insure they had two good ones. We used foam rollers and tempera paint. You can read more about that here. 
 Day #3: We did the 100 Dot Challenge! At least that's what I called it. Each table had 10 Sargent Paint Sticks. The kids were tasked to making 10 different color dots with the 10 sticks. This fell close to the 100th day of school so it was really fun. We also learned to count by 10s!

Day #4: We cut out our two favorite heart prints and glued them to our dotted background. Then we went to the glitter table.
 And, as predicted, GLITTER GOT EVERYWHERE. Thankfully a kid pointed out the glitter in my coffee before I took a swig!
 Day #5: We painted a rainbow! I traced hearts in the middle of the paper before the kids got to class. I did this because our focus was on painting, not tracing. I also wanted them to have enough time to pain. 
 Day #6: Our last day...I took the hearts outside. With spray glue, I added the foil on top. Thin foil works best. Then I gave the hearts a dusting of spray paint. I like the $1 a can, matte black spray paint from Home Depot. The prep time for this took me about 30 minutes for 2 classes.
 Using the finest of steel wool, the kids were tasked with "finding their shapes" by sanding off the spray paint. They LOVED this! They were so excited to see their design come to life. 
 And I hot glued their hearts in place. 
This lesson had it all: shapes, printmaking, 100 dot making, collaging, rainbow painting, metal tooling and more. This is definitely a lesson I'll be repeating. Hope you and your young artists give it a go too!

 photo signature_zpsd10b3273.png
Read more »

Tuesday, March 13, 2018

Art Teacherin' 101, Episode 43: QUIET CRITTERS!

 I've been teaching for many a year and it's always just been my assumption that kindergarten is loud. Like REALLY loud. It wasn't until recently, when I popped into a kindergarten classroom, that I noticed that they aren't ALWAYS this way. I walked into this room and they were working...calmly. Quietly. Like, frighteningly so. As if they were up to no good or plotting the next time they were coming to art and going to drive me bonkers with their incessant jib-jab. When I asked the teacher why they were so quiet, she was all, "what do you mean? They're working. They always work this way." 

SAY WHAT NOW?!
Not long after that, @art_with_mia who I love and follow on Instagram, shared that she recently started using something called Quiet Critters in her art room. Now I've heard of teachers using stuffed animals as quiet incentives before...but these small sparkly pompoms seemed like an easier alternative. With the noise level in my art room with kindergarten on the rise, I was determined to give it a shot. And, you guyz, IT WORKS.
If you read my last post, you know that I've named each of these critters after an artist. Every other art class, I'm introducing that artist to the kids. This one is Andy (Warhol). When a student earns a critter, I simply place them in their table caddy. I do think this would work with slightly older grades...but my older kids already use the clip system (which is what the clothes pins are all about. You can read about that here.) Since it works for them, I'm not about to reinvent the wheel, you know. However, I'm super stoked to find something that works for my wee ones, yay! Finally, I can hear myself think! 

Do you use something like this in your art room? I'd love to hear how it goes!
 photo signature_zpsd10b3273.png
Read more »

Wednesday, February 28, 2018

In the Art Room: Kindergarten Chicka Chicka Boom Boom Painting

 Hello, friends! If you saw my post earlier this week, I said I'd be sharing a follow-up lesson to our Jasper Johns-inspired alphabet paintings. Here's a peak at that project:
 And the video lesson!
I see my kindergarteners for 40 minutes, once a week. I knew they'd zip through the alphabet painting...so I shared with them a super fun Chicka Chicka Boom Boom video from YouTube and challenged them to make a painting of upper and lower case letters. This resulted in beautiful black and white paintings of letters. We piled them on to the drying rack and were done for the day...two masterpieces complete!
 Once the ink is dry from the bingo daubers, my students are going to "hug" their letters with water soluble markers. Then they'll add just water right over their marker lines for this fabulous result!
 Another alternative to having them paint over their lines is simply spray them with water! Once class only had moments left so we did this trick and, while I like the other result better, these still look great. Just a tip: when spraying with water, less is best. The colors will bleed if given time.
And there you have it, two great literacy projects for kindergarten in one! 

 photo signature_zpsd10b3273.png
Read more »

Monday, February 26, 2018

In the Art Room: Kindergarten Alphabet Paintings

This kindergarten lesson was so fun for my students that I wanted to share! I even created a video of the process. The beginning of this video will show you how to create your own Texture Rubbing Plates with simple supplies like tagboard and hot glue! Here's the video:
I will tell you some things that I did in preparation for this lesson:

* I made a set of texture rubbing plates, about 6 for each pair of students to share. Having a variety really helped them stay engaged in this portion of the lesson.

* With the help of a fellow specials teacher, I folded the paper and created the grid. This took time but I did it well in advance and I'm so glad I did. 

* When we did the alphabet, I did have "cheat sheets" for them at their tables to share with their neighbors. This way they could look at the sheet as a reference for writing their letters of the alphabet.

* I prepped the bingo daubers with ink. That's what the kids are using...and a lot of my lessons are currently filled with bingo dauber drawings. I'm addicted!

* For oil pastels, we used Sargent's florescent colors and for water color, we used Crayola's mixing colors. In the video, I am using Jack Richeson watercolor as that's what I had on hand at home.
I see my kindergarten for 40 minutes at a time. For the first class, we talked all about texture and added textures to our squares with the rubbing plates.

For our second class, we painted. This was a review as we do a lot of watercolor paint in art with kindergarten.
 On our final art class, we watched a great video on YouTube of the story of Chicka Chicka Boom Boom in song form. It's so cute and the kids loved it. After that, we created two paintings. Our first being these! We simply added our alphabets to our painted papers, so pretty!
 My favorite part was hearing the kids sing the alphabet song as they worked. 
 As soon as they finished, they placed these works of art on the drying rack and got a square paper from the store (what I call my supply gathering area). Then they painted a Chicka Boom painting of all the upper and lower case letters in a heap.
Stay tuned for what we do with these...I'll post a video and lesson right here on Wednesday!
 Just loving these and cannot wait to get them up for Read Across America Week. So time to stop blogging and start hanging!
You'll have to let me know if you give this lesson a go!
 photo signature_zpsd10b3273.png
Read more »