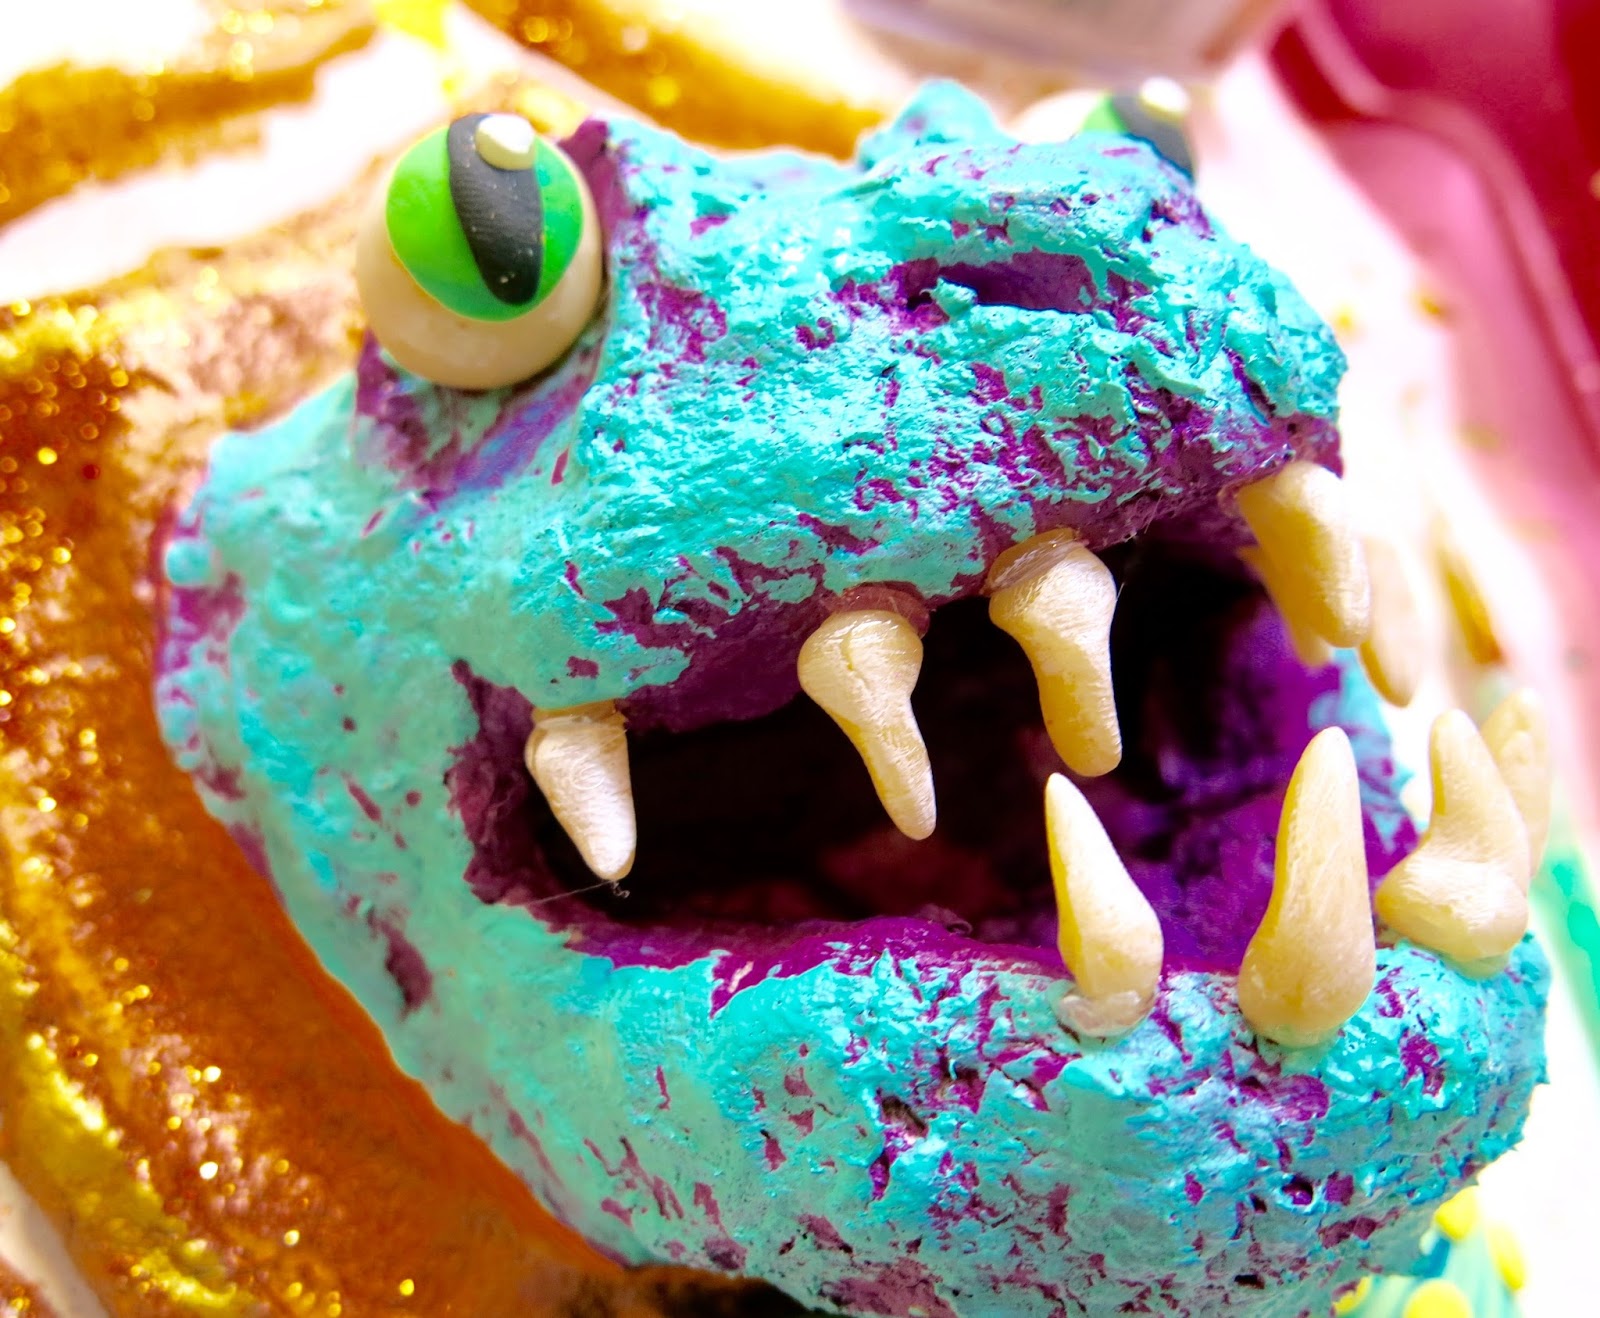
Y'all, I know. You don't even have to tell me: these are the ugliest things I've created to date. When I showed the hubs the creation on the right, he said, "that thing is scary. Like really scary." This coming from a dude who lives for haunted attractions. Mission accomplished. I got the idea for this Celluclay project when I hosting my #creatingwithcassie craft nights over on Facebook live. It is similar to a project I did when writing my book except with that project, I used air dry clay and created cute little forest animal heads. With this one, I used Celluclay and made these ugly/cute bad boys. How to here:
Supplies: * Celluclay: To say I am obsessed with this stuff is an understatement. I love me some Celluclay every since discovering it when writing my clay book. For a grade level of 80 kiddos, I'd say you'd need 2-3 bags of the 5 lb. of clay. I always premix the clay, I never let the kids do this. It's very dusty and, with a group of kids, could get real insane, real quick. I like to mix mine up the day before, creating batches the size of a large grapefruit for every two kids. I then wrap the clay in plastic wrap and store in the fridge so as not to mold. The next day, I place in a bowl and let the kids unwrap the clay. * Water: For mixing the clay. Don't ask me about measurements. This stuff should feel like clay. Not to soggy, not too dry. * Cardboard for Wall Mount: This project is geared towards kids in middle school and beyond. I'm guessing they will be able to cut through cardboard. Chipboard and mat board would work just as well. * Aluminum Foil: The Dollar Tree sells packs of 30 sheets of aluminum foil. I love this! The stuff is already cut for you. I will say, it's a very thin foil. You and your students may have to use more than one sheet to build a strong armature. It will need to support the weight of the clay. * Paint: I used acrylic but tempera would work. I always cover my Celluclay pieces in a varnish like ModPodge to seal and protect. * Polymer Clay: Totally optional! I used this to create the eyes and the teeth. I thought the difference in texture would be fun.
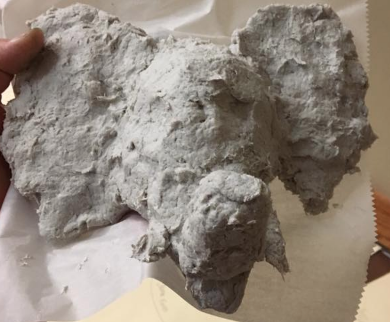
This guy is small, only about 6.5" in height. What I love about this project and working with Celluclay: 1. You don't have to wrap your project to prevent from drying when class is over or you need to take a break. Allow your clay to dry out. You can simply work the wet clay back into the dry. YES! 2. It sticks to everything! Seriously. I've adhered this clay to plastic, cardboard, tagboard, foil and plaster and I've never had to bust out the hot glue gun. 3. For that reason, no need to slip and score! Yippie! 4. I love the rough texture it creates. However, if that is not your bag, then good news, you can sand the clay once it's dry. Use a fine grit paper and do this either outside or wearing a cute lil paper mask thingie.
I always and forever, amen dry my Celluclay in front of a fan. It can dry super fast that way. Otherwise...it may take much longer to dry and mold. No one wants that.
I've used both the white and the gray clay. Both take to paint very well...so no reason to purchase one over the other.
Because the Celluclay sticks to everything in the universe (in the best possible way), you can use such things as air dry clay in combination. We found that out while I was leading a clay session at Art Scouts (details on that amazing adventure later this week!). The participants were adding tooth-shaped clay right into their masterpieces while it was wet...the next day, they were stuck in to place.
I also shared this process during my online craft nights. I LOVED seeing everyone's spin on this project. Imagine where our students could go with this idea. This amazing unicorn was created with plaster trips instead of Celluclay...which works just as well!
Here are just a few of the incredible creations I managed to snag a picture of at Art Scouts. Love this elephant!
And this dragon! At Art Scouts, I had about an hour for the participants to create an armature and make their masterpiece. Pretty impressive that they could knock it out so fast. The method I share in the video makes it a simple process. Once home, the Art Scouts started sending me photos of their finished pieces.
Love this one by Polly Blair. Notice she did not cover her cardboard in Celluclay. Totally optional. It really giver her piece a great contrast between the smooth wall mount and the rough texture of the dragon.
And this cutie from Jennifer Day. That face is a total crack up.
Here's a peak at the other clay creations our Scouts knocked out in just two hours! These were created by my Joliet pal Nora Gleason. The heart was created with Celluclay while the wings were made with plaster trips.You can find that project here.
And these cuties created by Ryann Hawkins. LOVE them! I can't wait to share more from our Art Scouts adventures in a future post. Until then, I leave you with these faces only a mother could love...
Ah! I failed to mention that the "retainer" on the dino on the left was created with an unfolded paperclip and attached with hot glue. The cat eye glasses were some I had in my stash where I just removed the legs and attached to the bridge of the nose with hot glue. The bowtie on the dino on the right, was created from polymer clay and simply attached to the finished piece with hot glue. Now...where to hang such craziness. My art room, of course!
Wow amazing! How would one dry these for students when they are visiting art cart teachers? P.s. I'd love to hear your ideas on art cart teaching... finding that may be more of the norm in our schools around here.
If you are on a cart, I would def have the kids make the smaller size heads. My little one is just about 6" at it's widest. If you give the kids templates for their "wall mount" it would help them limit their size. I would place them on your cart and then put them in front of a fan overnight. They should be dry by morning. I've not had to work on a cart or at multiple schools, I have been very fortunate. I wish I could offer advice in that area!
I love this project and I know the kids will, too! Your examples crack me up! They have such personality!
Miss Jenny- I am a cart teacher, too. I wish all classroom teachers were sympathetic to our lack of storage/drying space. We dry projects on top of book cubbies and lockers and I set up tables under stairwells for drying space, too. Those red, plastic Coke trays are my favorite thing in the world for storing and moving clay. They have holes for air and lock together to keep projects (4" and under) from being squished. Good luck, fellow gypsy!
I have a tip for you Cassie! I have been working with Cellu-clay for 30 years and it is a pain to mix up with the dust and how sticky it is. So I put the Cellu-clay in a Ziploc bag, add my water, zip the bag closed and mush it until it's mixed! No muss no fuss!
This is exactly what I needed to revive my dragon taxidermy project, It has been on the struggle bus for the last 2 semesters. But I just have not been able to let. it. goooo. thanks for the inspiration!


Wow amazing! How would one dry these for students when they are visiting art cart teachers? P.s. I'd love to hear your ideas on art cart teaching... finding that may be more of the norm in our schools around here.
ReplyDeleteIf you are on a cart, I would def have the kids make the smaller size heads. My little one is just about 6" at it's widest. If you give the kids templates for their "wall mount" it would help them limit their size. I would place them on your cart and then put them in front of a fan overnight. They should be dry by morning. I've not had to work on a cart or at multiple schools, I have been very fortunate. I wish I could offer advice in that area!
DeleteThis comment has been removed by the author.
DeleteI love this project and I know the kids will, too! Your examples crack me up! They have such personality!
ReplyDeleteMiss Jenny- I am a cart teacher, too. I wish all classroom teachers were sympathetic to our lack of storage/drying space. We dry projects on top of book cubbies and lockers and I set up tables under stairwells for drying space, too. Those red, plastic Coke trays are my favorite thing in the world for storing and moving clay. They have holes for air and lock together to keep projects (4" and under) from being squished. Good luck, fellow gypsy!
I have a tip for you Cassie! I have been working with Cellu-clay for 30 years and it is a pain to mix up with the dust and how sticky it is. So I put the Cellu-clay in a Ziploc bag, add my water, zip the bag closed and mush it until it's mixed! No muss no fuss!
ReplyDeleteFellow Gypsy! I love it!!! Thank you ladies for sharing your brilliance!
ReplyDeleteThis is exactly what I needed to revive my dragon taxidermy project, It has been on the struggle bus for the last 2 semesters. But I just have not been able to let. it. goooo. thanks for the inspiration!
ReplyDelete